
by Christian Raun
Just get started, there is no comprehensive “do-you-for-you-get-one-perfect-result” guide to modeling figures – there is only the good old test-ahead method.
 You may not be Michelangelo – on day one – but it is very satisfying just to be able to change things, and soon the desire to make his own figure or loose part comes from the ground up, and maybe mold it subsequently.
In fact, one can see on the net that it is an ever-growing hobby itself to create characters in all possible and impossible sizes. And if you look more closely at the names that model military model figures, you soon discover that most of the big names are self-taught. So just get started!
“Dolly”
The most important thing is actually to be able to keep a scale and get the right body proportions, whether in 54 or for example. 28 mm, then it is “just” a larger patient pill and nose work as a model. At least as much is exercise as artistic abilities.
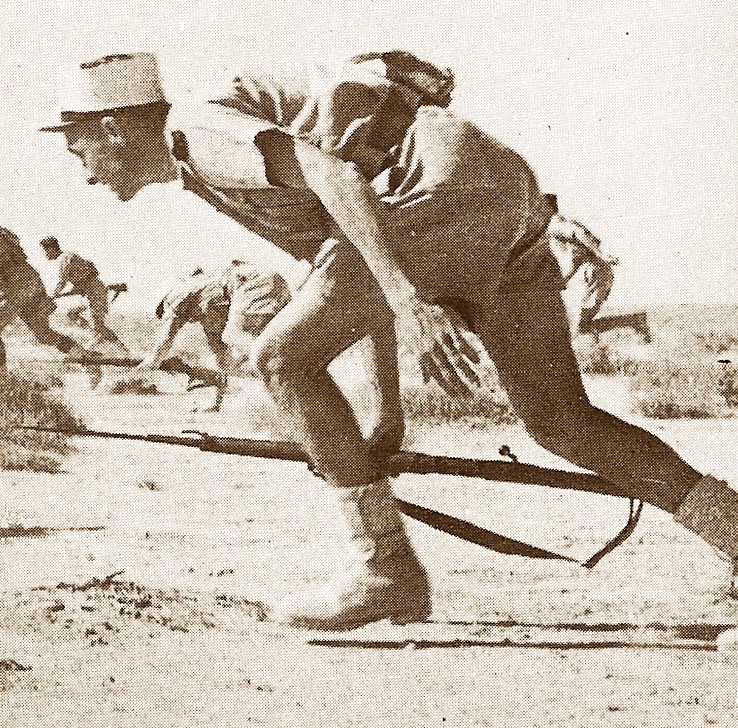
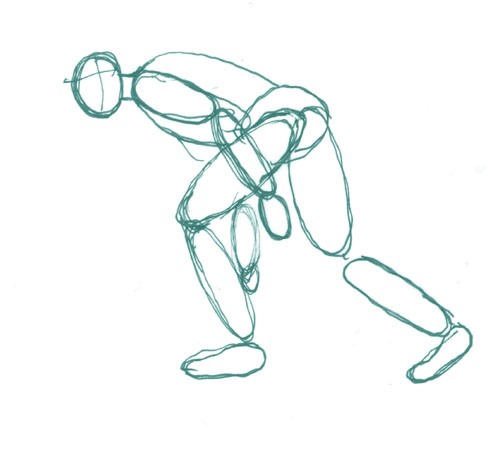
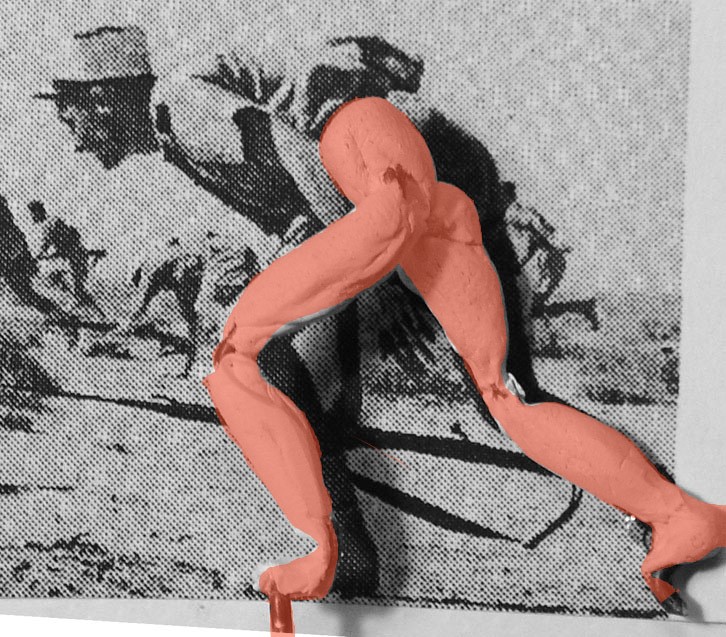
A work drawing is important so you have something to assume. It should in no way be “art”, but simply state position and details. Pentecostals on the right scale, so that you have something to measure on, are excellent. Details can be taken from books with uniforms and weapons.
You can work from a purchased so-called “Dolly”.
One has previously been shown in the Chakoten, so the proportions are in order at least. And you can use other parts made professionally, if you do not immediately throw yourself in the face, hands, weapons etc.
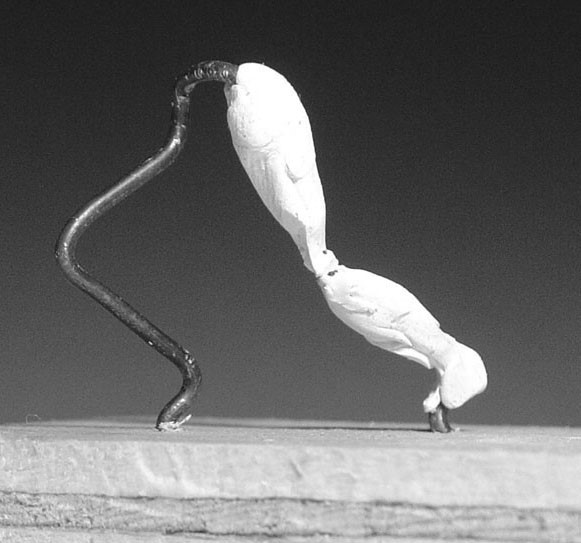
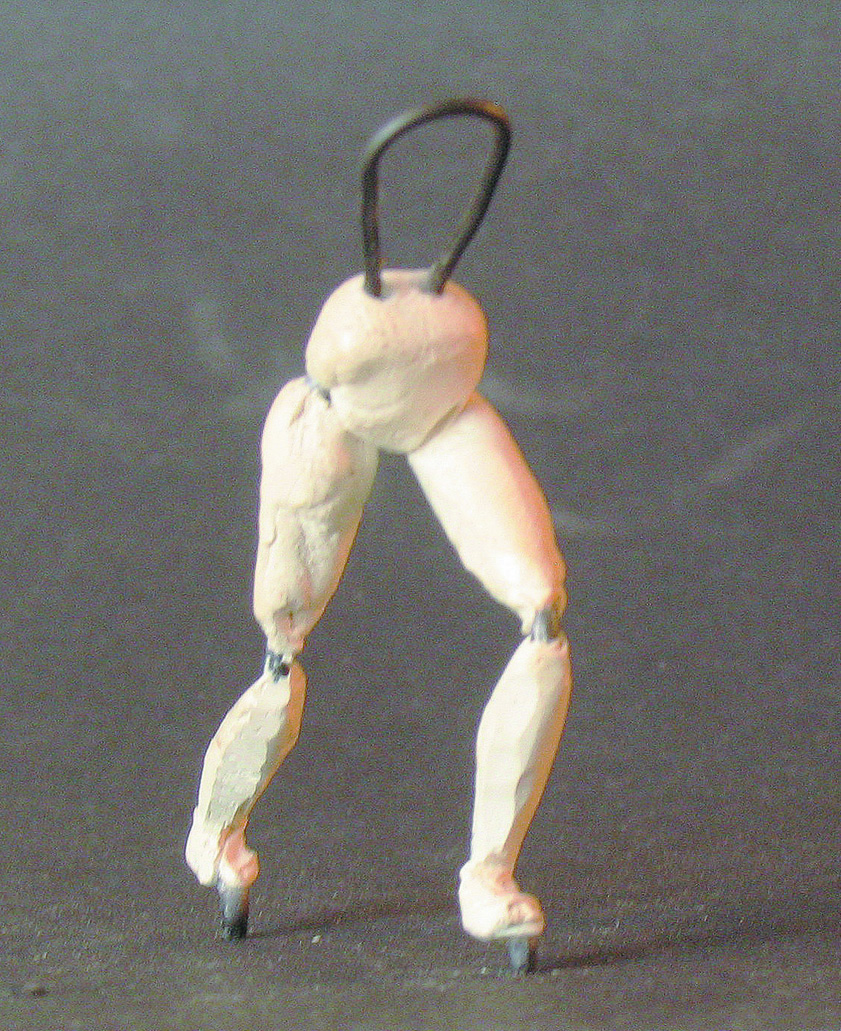
Or you can make your own “Dolly” of a little steel wire, a clip or the like.
Important is here proportions and straight bends in the joints. The ends of the steel wire can be inserted into a cork plug (can be purchased in any size in shops selling for home and wine makers), so you can easily handle and rotate the figure without touching it.
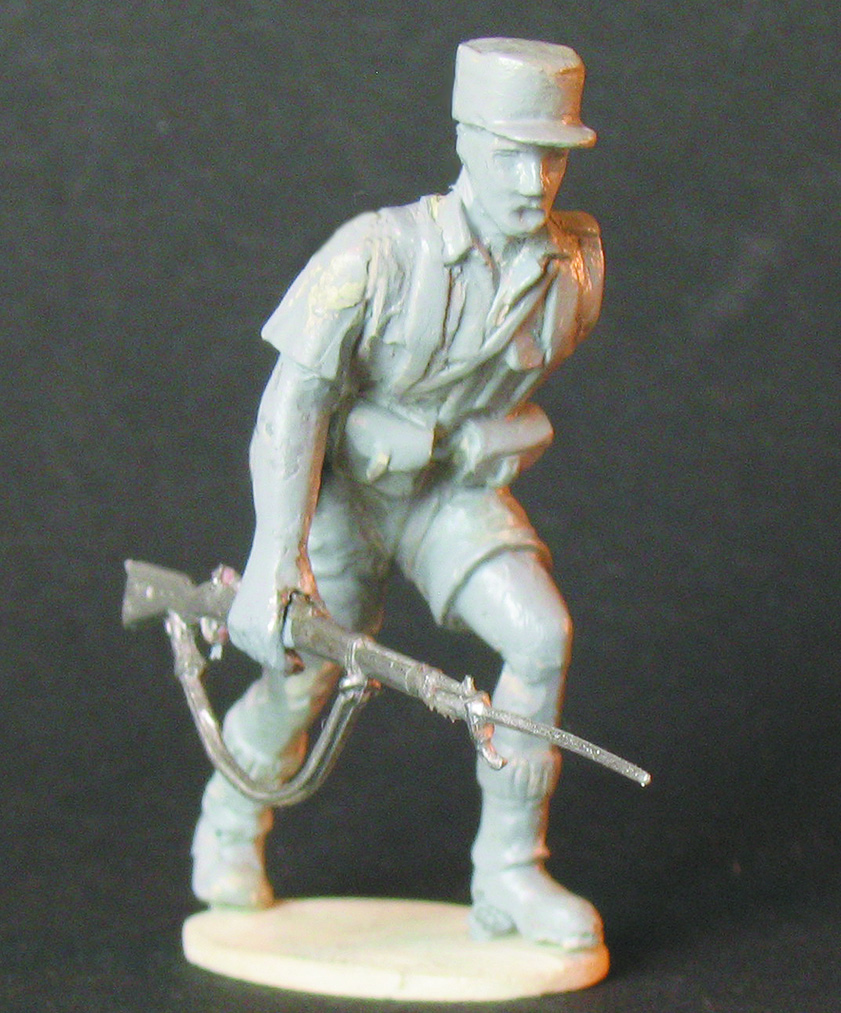
There are no rules for how to do it, everything is allowed. Roughly speaking, you start with legs, then upper body. The head first, as otherwise it will easily become too big. Arms can be waited for, until the body is finished, so it is easier to get details in place that are otherwise covered by arms. Weapons are made loose (or taken from other model / purchased loosely) and placed gradually.
What does one need?
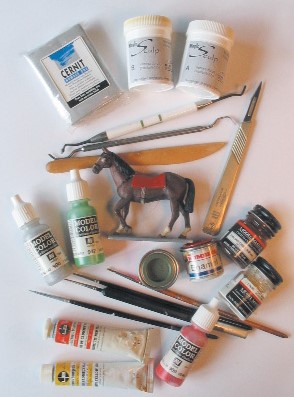
First and foremost, the plastic mass that you model with, in addition various small tools and so patience as well as some exercise. Strangely enough, it seems easier to make a sculpture than to draw freehand! But that’s how it is now
Plastic Types
Here are two types:
The self-hardening and the type to be cured at low heat in an oven.
Self-hardening
Here it is primarily materials like Milliput and Kneadatite, the latter also called “Green Stuff.” You can search the web for “Green Stuff” or go to www.Sylmasta.com and find the different types, as the materials are in different hardness and fineness. The whole thing can be mixed so that you utilize the different properties in the best possible way and at will.
Most things can also be bought at home – otherwise it will come! If you just want to try a small blob of Green Stuff, it can be bought where you sell Games Workshop articles. The price here is 50, – DKK, quite powerful as for all this company’s products, but if you only want to try then it is excellent. The same place also offers a small set of tools that cover all basic needs. Various tools designed to work in clay from art and paint shops can also be useful. But everything in an ordinary household (toothpicks, straws, nails in a plug or in a dollop Milliput, steel wire filet and hammered in shape and put in a plug etc.) can be used, and you can even make your own small tools with different heads of all shapes. What to use depends solely on one’s working method and the effect one wants to achieve. Buttons and rivets can be made with a hollow tube of the desired size, and simply pressed into the mass, after which you scrape the remaining “stuff” work.
Not self-hardening
This is known, among other things. like Fimo, a kind of patch used for many other hobby purposes. The advantage here is that you are not limited in time, as the fabric remains malleable until it has been a walk in the oven at low heat (not above 130 degrees!). If you are dissatisfied, you can curl up and start over. But otherwise it can be treated as the self-curing substances. Used mainly in France and here on the continent, while the English-speaking world swears to “Green Stuff” and the like. Fimo can e.g. purchased from Panduro Hobby.
Green Stuff
This is a sticky mass made from a blue and a yellow substance which must be well mixed, after which the mass becomes green. You can change the ratio between yellow and blue at will and thus get a mass with different properties, the more blue, the harder the mass. And as mentioned, you can mix with Milliput of different fineness and hardness (about 30–40% Milliput and the rest Green Stuff is a good and cheap mix for not the finest details or things that should not be able to give themselves as much as pure Green Stuff Animal ears, for example) or Brown Stuff, in which there is aluminum dust, which gives a particularly hard mass after solidification. The latter must be particularly good at making sharp edges on e.g. weapons, like saberblades.
The mass should be as fresh as possible, otherwise the materials lose their adhesiveness and are rather useless, so you also do not have to make too big a lump at a time. Green Stuff is actually very expensive in terms of quantity.
To preserve the freshness, store the unmixed ribbons in a plastic bag in the freezer. You can also get the yellow and blue in “tubes” so that they do not chemically affect each other.
When working with the material, it adheres to everything at first (preferably), but avoids sticking where it should, by keeping tools and fingers wet, some using oils and fats or just water, but actually something is of the best a saliva in eg. a beer capsule. Licking the tools and fingers is not recommended as the material is highly toxic!
You now “stick” a little on its “Dolly” metal skeleton, possibly. you can lubricate it with a little joinery glue first.
(You can also use the cheaper “stuff”, intended for plumbers and lightning dryers, to lay the foundation. Fast and cheap.)
Initially, you should not lubricate the “joints”, at least if you work with steel wire. Then you can still bend to your liking and achieve more sharp bends as they really are.
 Once the pulp has solidified, one can work on layers on layers, which each time have to dry completely. It is therefore useful to have several characters running at the same time. You can speed up the solidification by placing the figure under a lit lamp. Some make special arrangements with a bulb under a small container.
You just have to get used to the fact that you can “push” around with the mass and that when it is completely fresh, it bulges out elsewhere. Almost like working in chewing gum. But slowly the pulp solidifies and changes character, which is then exploited in various ways.
To get a smooth surface, water / oil is used on the implement, and there is a particularly smooth (actually intended for clay work) with various rubber / plastic tips that are particularly useful.
Once the pulp has solidified, you can file, cut, saw and drill in it. In the hard masses more than in the soft, like Green Stuff, where it can be difficult to make completely sharp edges.
 Details and e.g. Tabs can be made separately on a piece of plastic with a thin film / layer of oil so that it can easily be lifted off when it is found that it has solidified sufficiently. You can thus make paper-thin surfaces, by taking a piece of film, putting on a cloth Green Stuff, folding and rolling over with something heavy until you reach the desired thickness.
You can make your own small molds, lubricate with a little oil and mash Green Stuff and let it solidify. The oil must be washed off in sulfo or with the good old cellulosic foamer, which, however, is said to be dangerous for brain cells, without completely remembering why! Fragrances wonderful.
If you want to “stick” something on the solidified Green Stuff, you can advantageously clean with a little alcohol or cut a thin layer off, then it is easier to attach because you then remove any. finger grease. You can also drill small hole and lubricate some fresh Green Stuff in as glue.
If something is unsuccessful, you can just cut it off and start over.
One should not touch a non-solidified figure, so it shifts it all or you get at least one splendid fingerprint.
For lances and similar rods, brass wire is used.
Sabels and saber chains are made over a small piece of thin steel wire, so it keeps the shape better.
Everything can be done in this way, only the imagination – and stubbornness – sets limits.
On the web there are lots of pages with tips, and people show on their own websites their creations, which are often of a very high standard and can give inspiration as well as tips.